- Advanced Interconnect Technologies
- 2.5 & 3D Heterogeneous Integration
- System in Package (SiP)
- Wafer Bumping & WLP
- Multi-Chip Modules (MCMs)
- Novel Microfabrication & MEMS
- Design, Packaging & Assembly
- Assembly Services
- Final Test
- Chip on Board (CoB)
- Plastic Packaging (BGA/CSP/QFN)
- Hermetic Packaging
- MIL-STD-1553 Data Bus Couplers & Accessories
- Micro In-Line Couplers
- Tab Mounted In-Line Couplers
- Through Hole Mounted In-Line Couplers
- Box Couplers
- Custom Design Couplers
- Data Bus Coupling Transformers
- Data Bus Relays
- Data Bus Harnesses
- Bus and Stub Terminators
- Wide Bandwidth RF & Video Transformers
- Antenna Couplers
- Video Isolation Transformers
- RF Wideband Transformers
- RF Wideband Transformers & Impedance Adapters
X-Ray
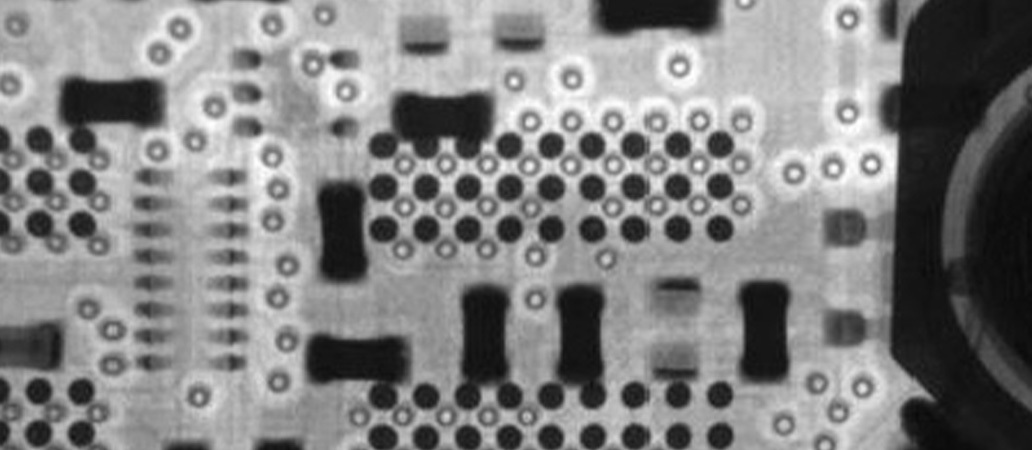
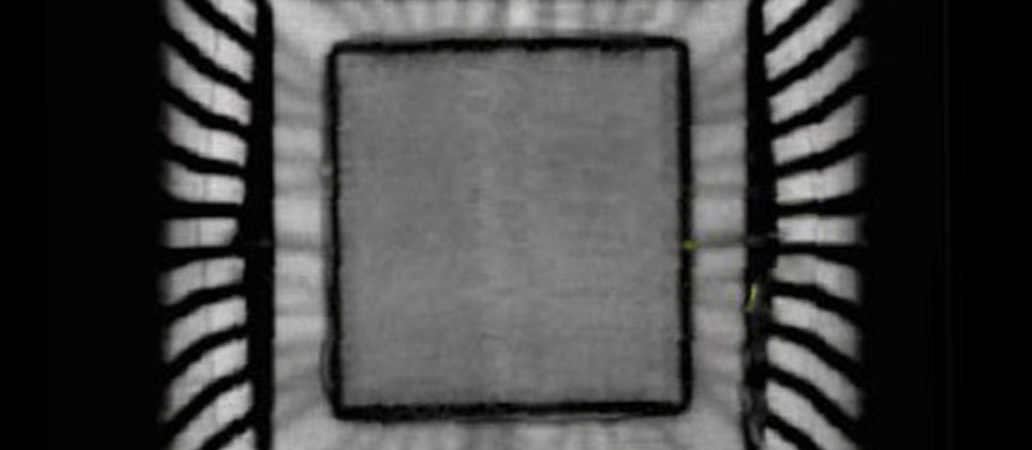
One of the best possible ways to find faults of all kinds: poor wetting and insufficient reflow, joint density, ball irregularities, bridges between solder balls, voiding, shorts, and so on. Our x-ray inspection can be automated, enabling us to set inspection parameters and process a large volume of PCBs quickly.

X-Ray Fluorescence (XRF)
Using the latest x-ray fluorescence (XRF) scanning equipment, we can perform a wide range of tests on electronic components and fabrication materials to screen for restricted substances (e.g. lead, mercury, cadmium and hexavalent chromium) above specified limits. We can quicky verify compliance with Restriction of Hazardous Substances (RoHS), Waste Electrical and Electronic Equipment (WEEE), and End of Life Vehicle (ELV) directives.
In addition to performing general-materials testing, including analysis of plating bath solutions, we are currently certified to refinish Ball Grid Array (BGA) and Quad Flat-Pack (QFP) components in conformance with RoHS directive 2002/95/EC as defined by JEDEC-JESD97
IPC-A-610
Our on staff IPC-certified trainer is part of our commitment to our customers certification to the most recent standards, IPC-A-610. This certification, published in 2010, covers quality control for the newest electronics assembly procedures and components, including board-in-board and package-on-package assemblies, Pb-free, new SMT termination styles and advances in mechanical assemblies, cleaning, coating and laminates.
Acoustic Microscopy (AM)
Uses sound waves to non-destructively view the inside of molded packages, AM can detect delamination outside the limits of J-STD-020
More infoX-Ray Inspection
Best way to find poor wetting and insufficient reflow, joint density, ball irregularities, bridges between solder balls, voiding, shorts, and so on
More infoX-Ray Fluorescence Analysis
Determines the percentage and thickness of Lead (Pb) and other elements in termination finishes. As well as XRF Screening and IPC-A-610
More infoFine & Gross Leak Test
GEIA-STD-0006 finish replacement qualification, IEC TS 62647-4 qualification ball grid array (BGA) reballing, ionic contamination, solderability
More info


